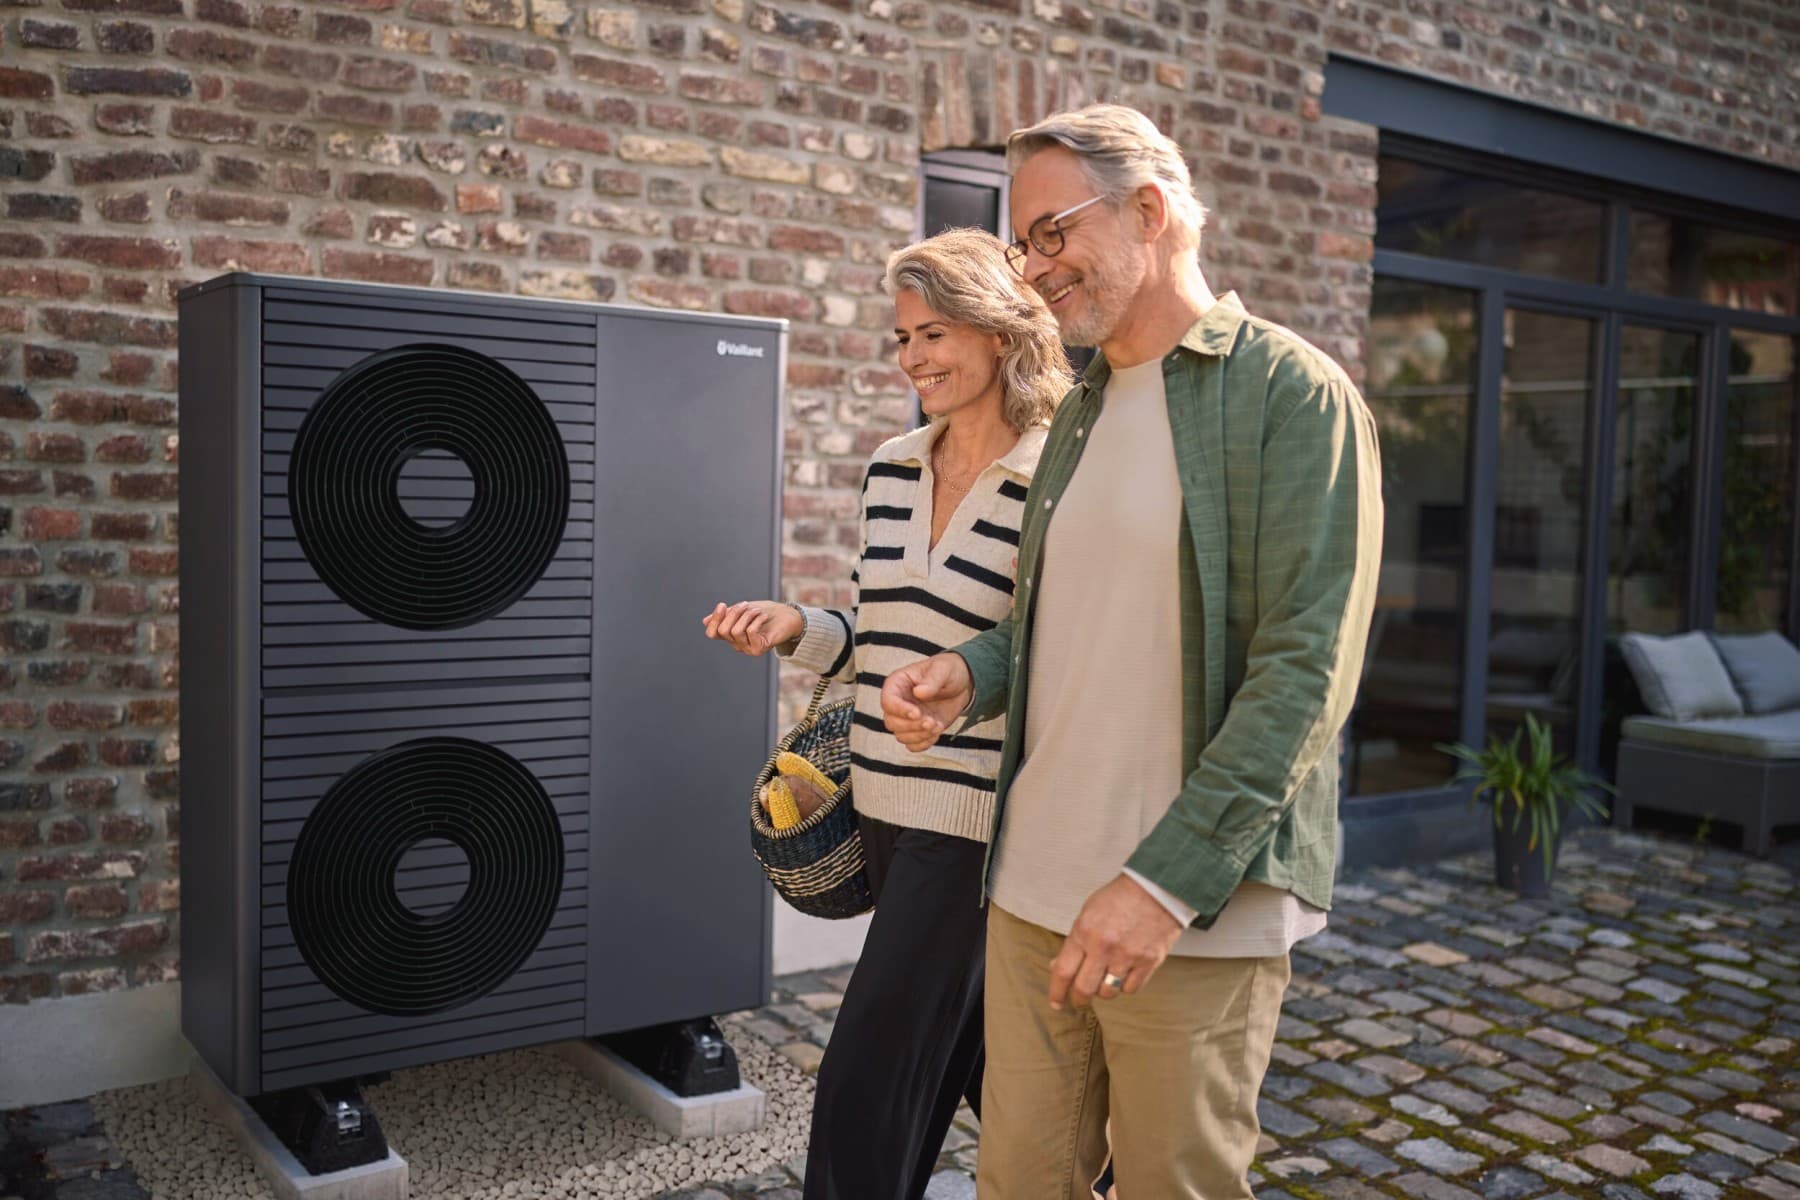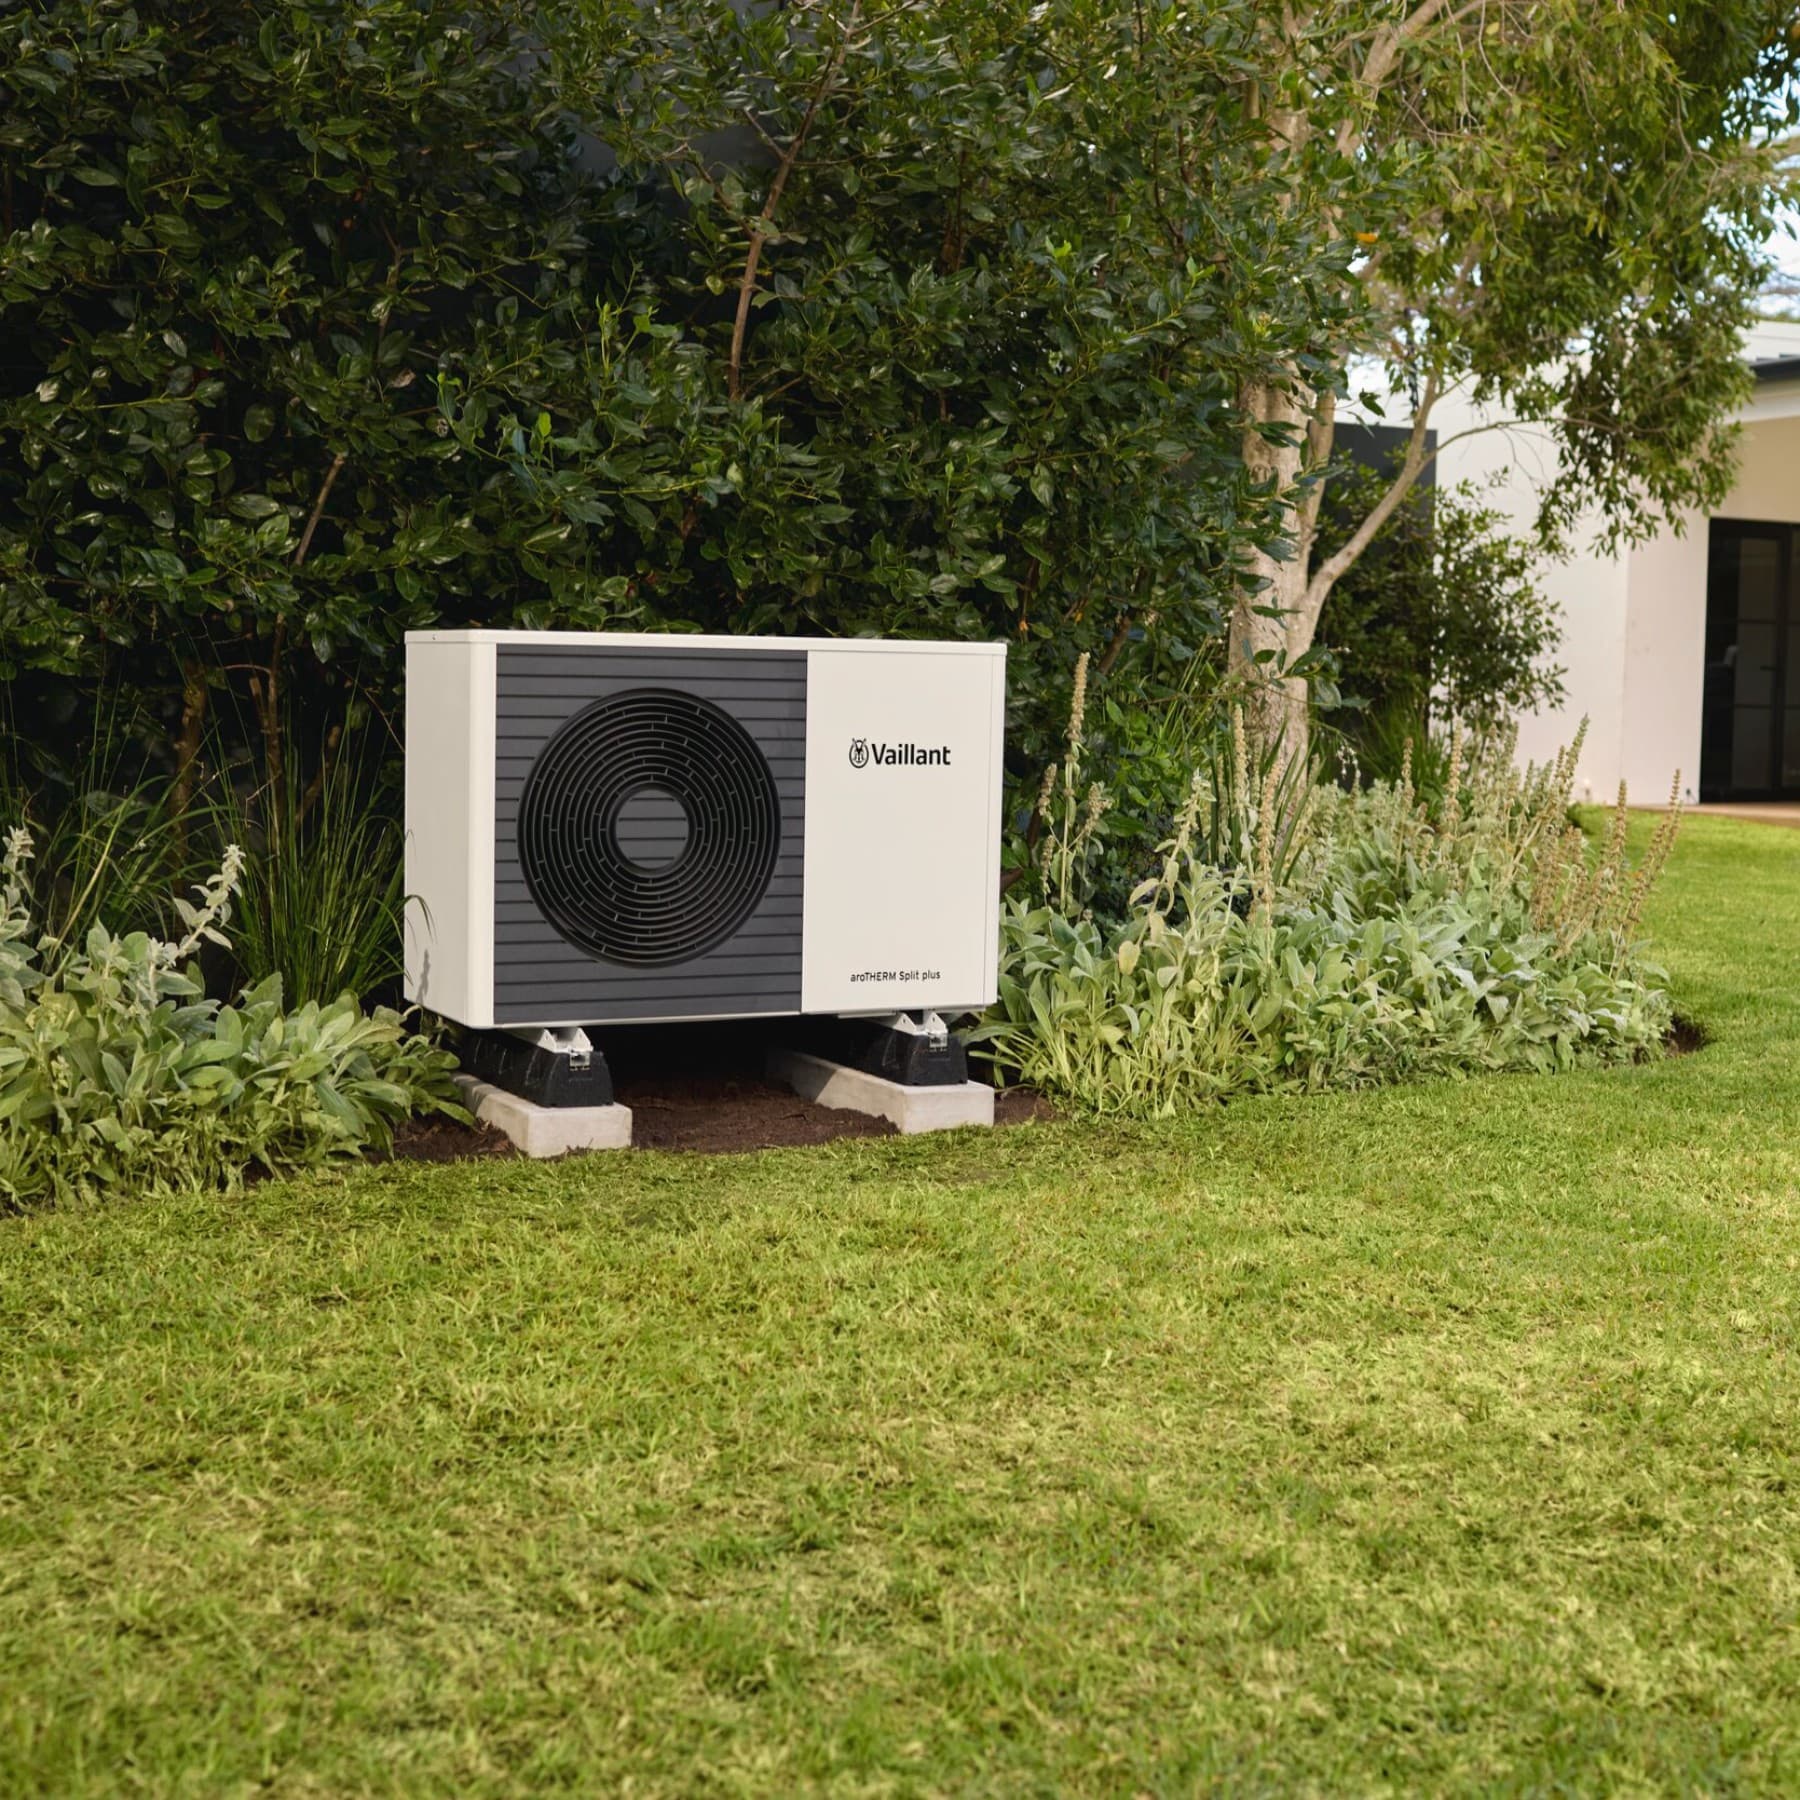
Heat pump installation: your step-by-step roadmap.

Pre installation considerations
First up: These tips will make your installation go extra smooth.
- Upgrade your home's energy efficiency.
Maximise your heat pump's performance by enhancing insulation in your home. This reduces heat loss and maintains consistent indoor temperatures. Upgrade wall, roof, and floor insulation, and seal drafts around windows and doors for optimal energy retention.
- Examine your home's space.
Ensure sufficient space for heat pump components like a hot water cylinder and possibly a buffer tank. Check local regulations to determine if planning permission is needed, as larger installations may require it due to noise or visual impact restrictions.
- Verify radiator compatibility.
Heat pumps operate at lower temperatures than boilers. So, if you switch the heating system, you should check that the radiators are appropriate for heat pumps. Consider underfloor heating for renovations or new builds, as it suits lower temperatures and enhances heat distribution.
- Calculate budget and subsides.
Subsidy programs are country-specific and must be reviewed individually. Your local installer will be happy to advise you on which products are eligible for subsidies and what the requirements are.
Step 0: Initial assessment.
Firstly, find out if and which heat pump is suitable for your home, and what specifications the system will need to provide adequate heating. Your heat pump installer will visit your property to carry out a heat loss calculation to assess how much heat is needed to keep your home warm. This will form the basis of their recommendations for your heat pump system.
Once the assessment has been completed, your installer will detail the specifics of the recommended heat pump system, including the size and power of the heat pump, and where the initial heat source will be drawn from.
In the following step-by-step guide we will focus on the installation of an air-source heat pump, as it is the most common heat pump type.
Installed in a breeze: our air-source heat pumps.
- 1/4Air-to-Water Heat PumparoTHERM proMinimum size for maximum comfort: the aroTHERM pro with an output of 5 to 11 kW is our space-saving heat pumpGet more details
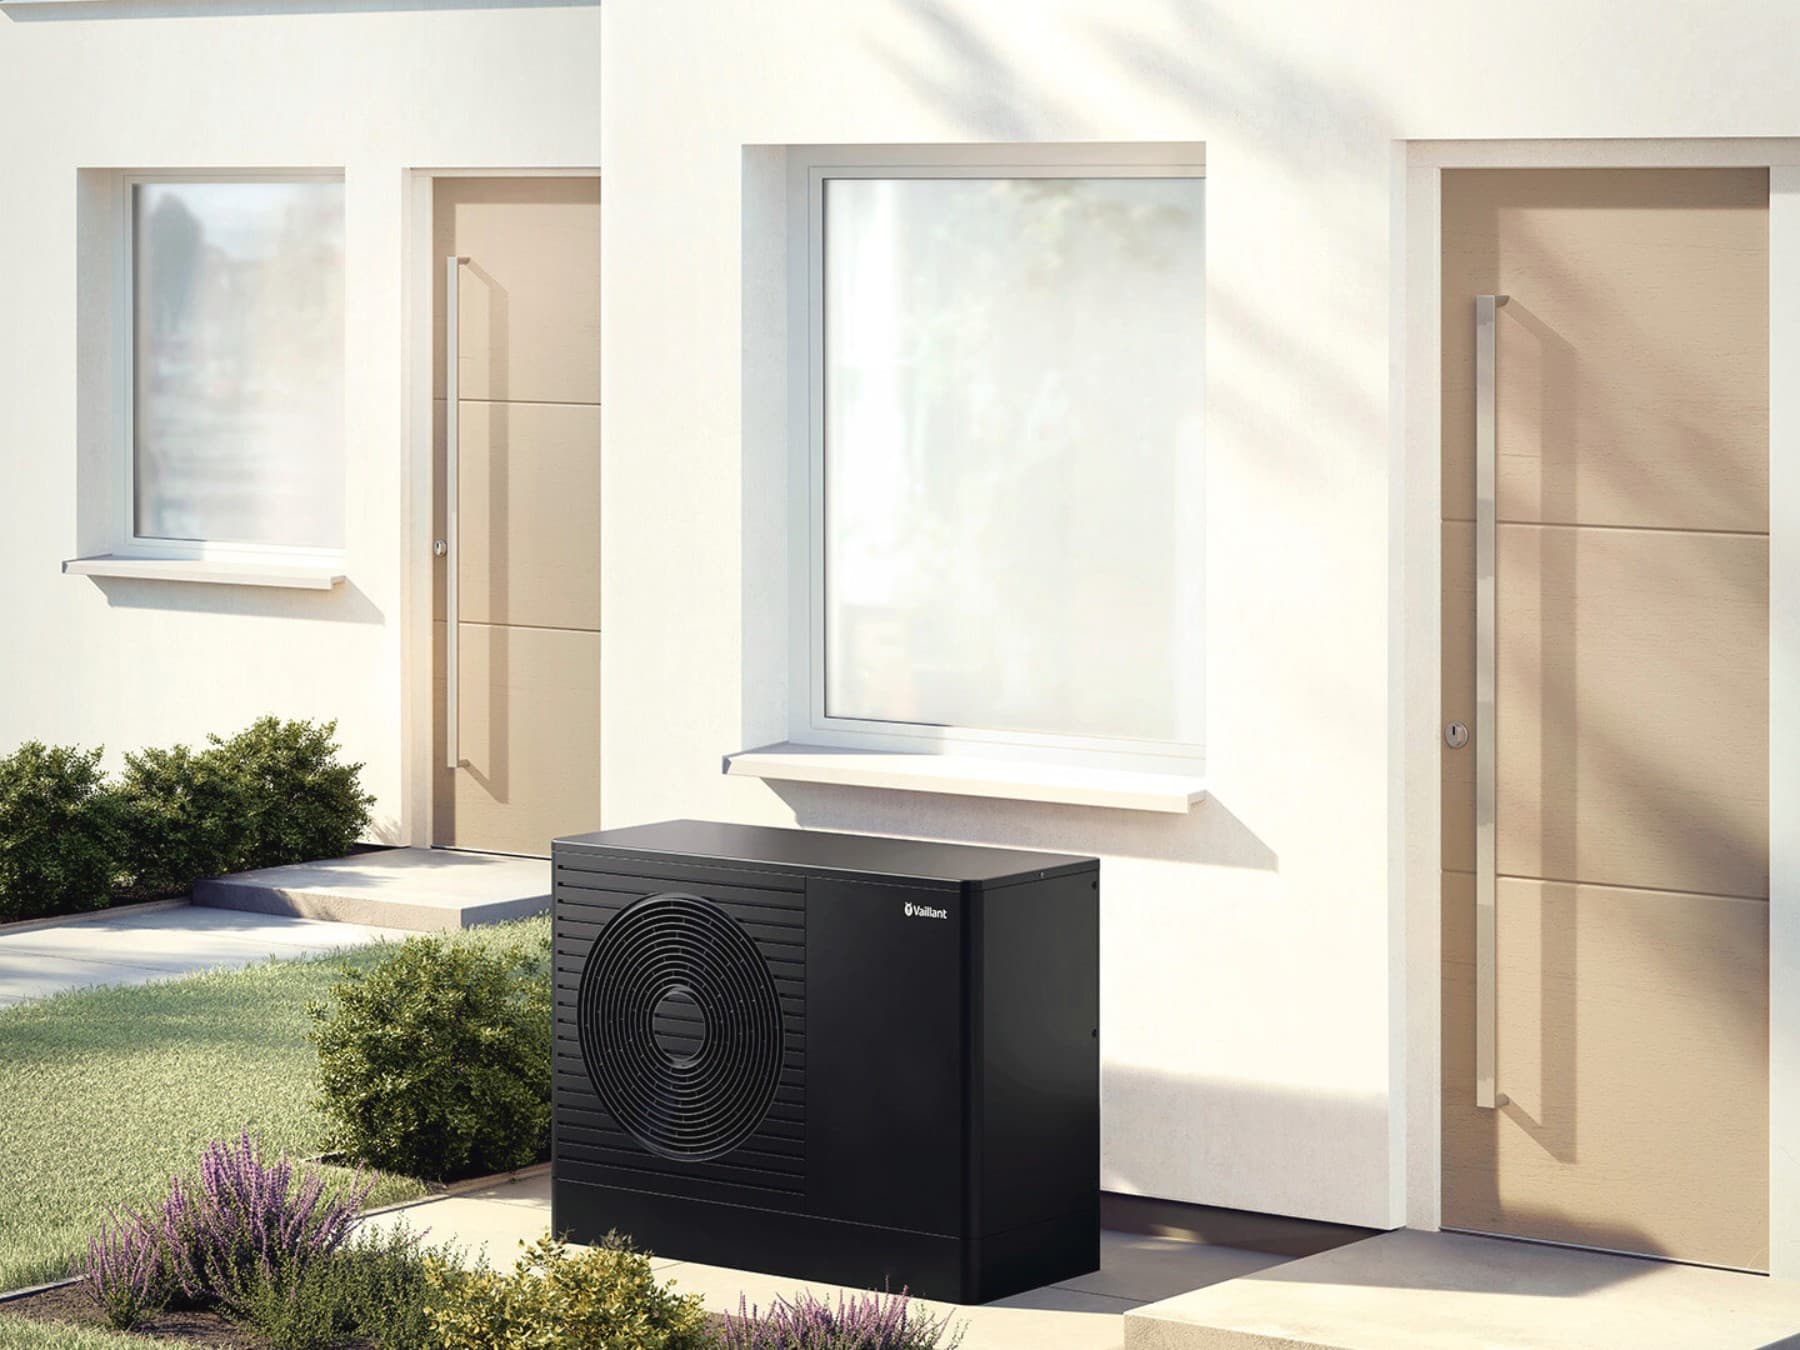
The space saver for outdoor installation
Minimum size for maximum comfort: the aroTHERM pro with an output of 5 to 11 kW is our space-saving heat pump. It is not only the ideal solution for new buildings. Due to its high flow temperatures of up to 70 °C, it is the ideal solution for modernising your heating system while keeping existing radiators. Thanks to our industry-unique safety concept to reduce protective zones, the heat pump can be placed almost anywhere. With ErP labels up to A+++ (D - A+++), it offers highly efficient heating and is also eligible for subsidies. Furthermore, its use of the natural refrigerant R290 makes it a future-proof choice.
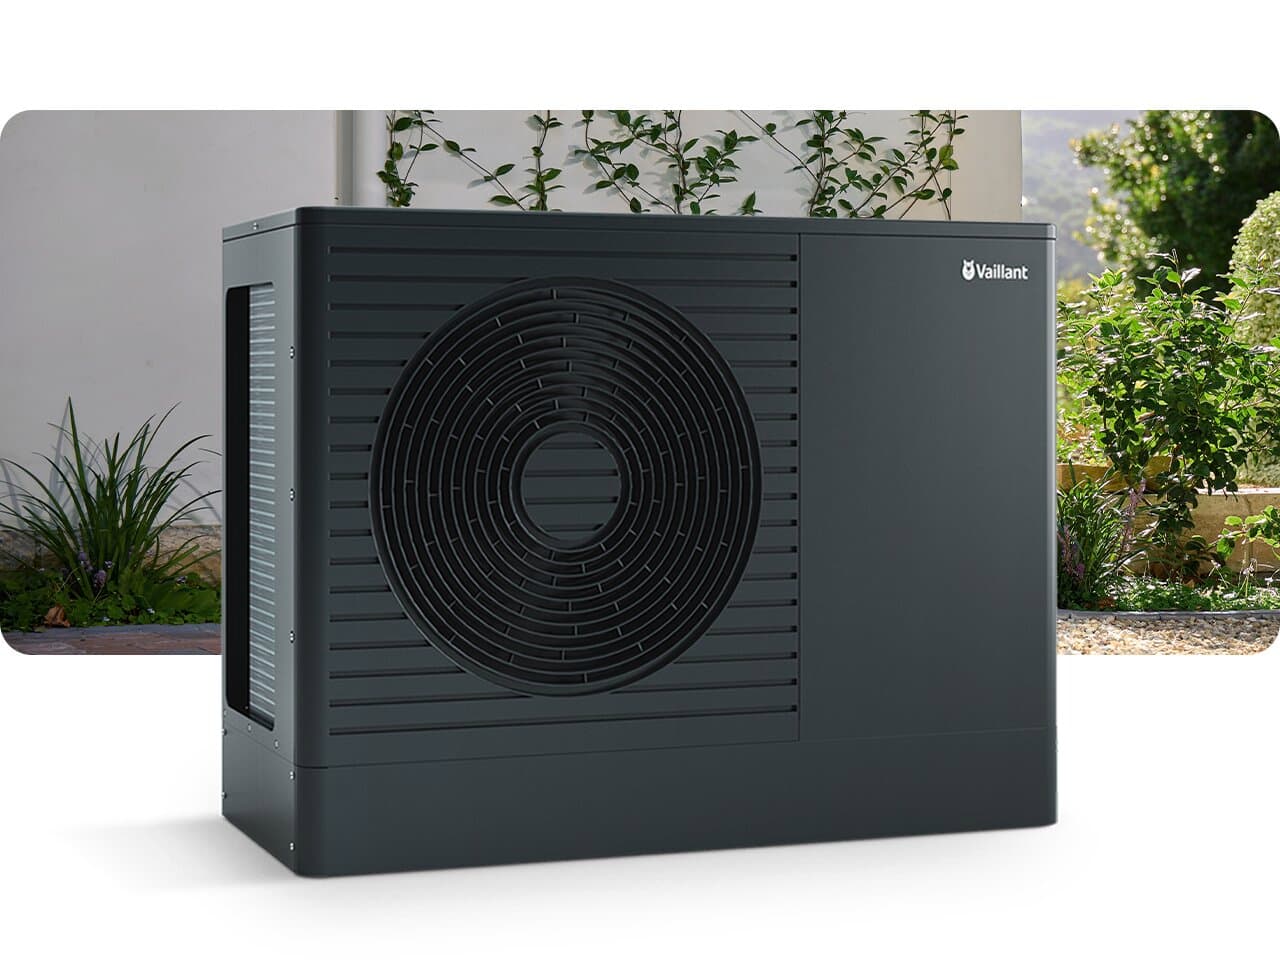
- 2/4Air-to-water heat pumparoTHERM plusOur most efficient air/water heat pump reduces operating costs.Get more details
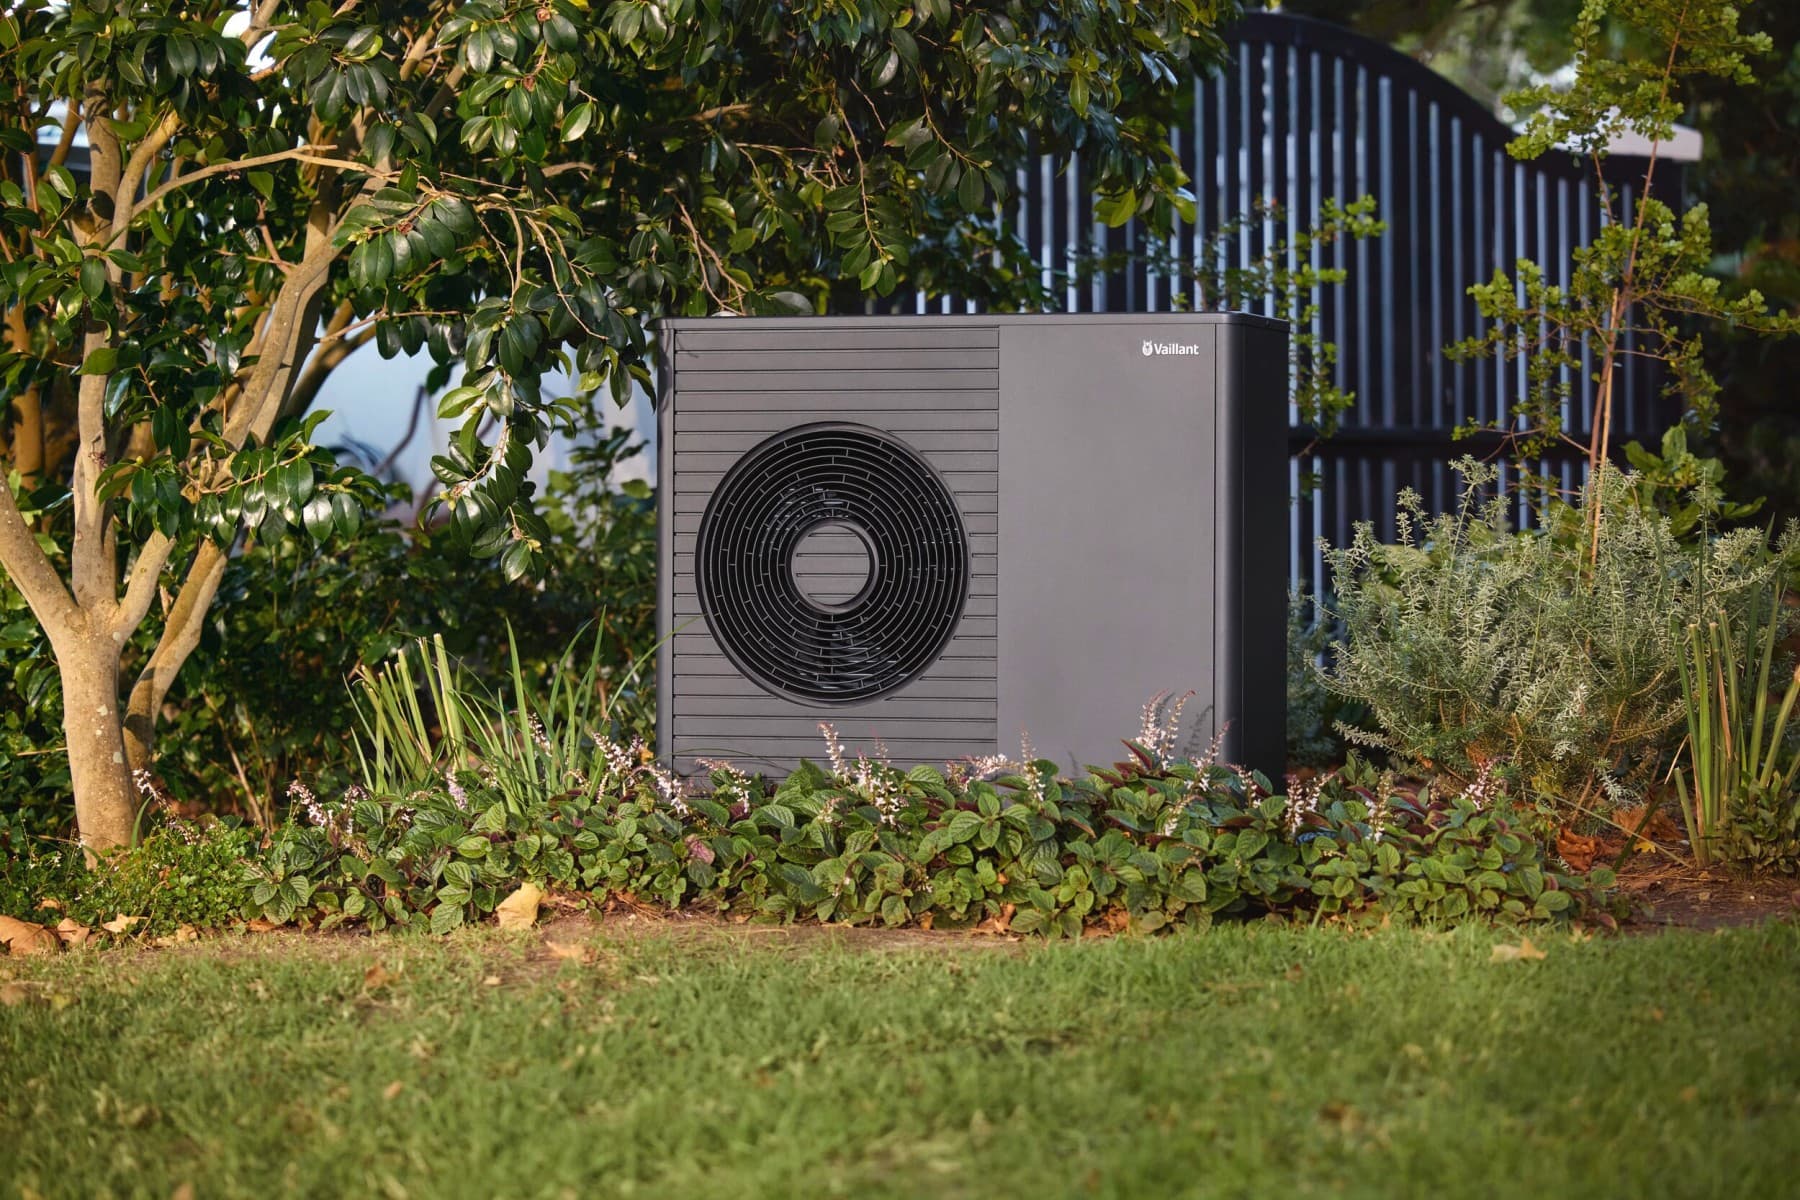
Efficiency in its most flexible form.
- Our most efficient air/water heat pump reduces operating costs.
- Our quietest air/water heat pump with 28 dB(A) for a peaceful neighbourhood
- Maximum freedom of positioning thanks to uniquely minimal protective zones.
- Elegant design in black grey
- Including free 5-year guarantee
The new standard: Our new aroTHERM plus heat pump always finds its place. This is because our safety concept, which is unique in the industry and minimises the necessary distances. Equipped with the natural refrigerant R290, it is our most efficient air-to-water heat pump and generates up to five parts heat* from one part electricity. Available in output sizes from 3 to 12 kW, it is ideal for one-family houses - even with existing radiators, of course.
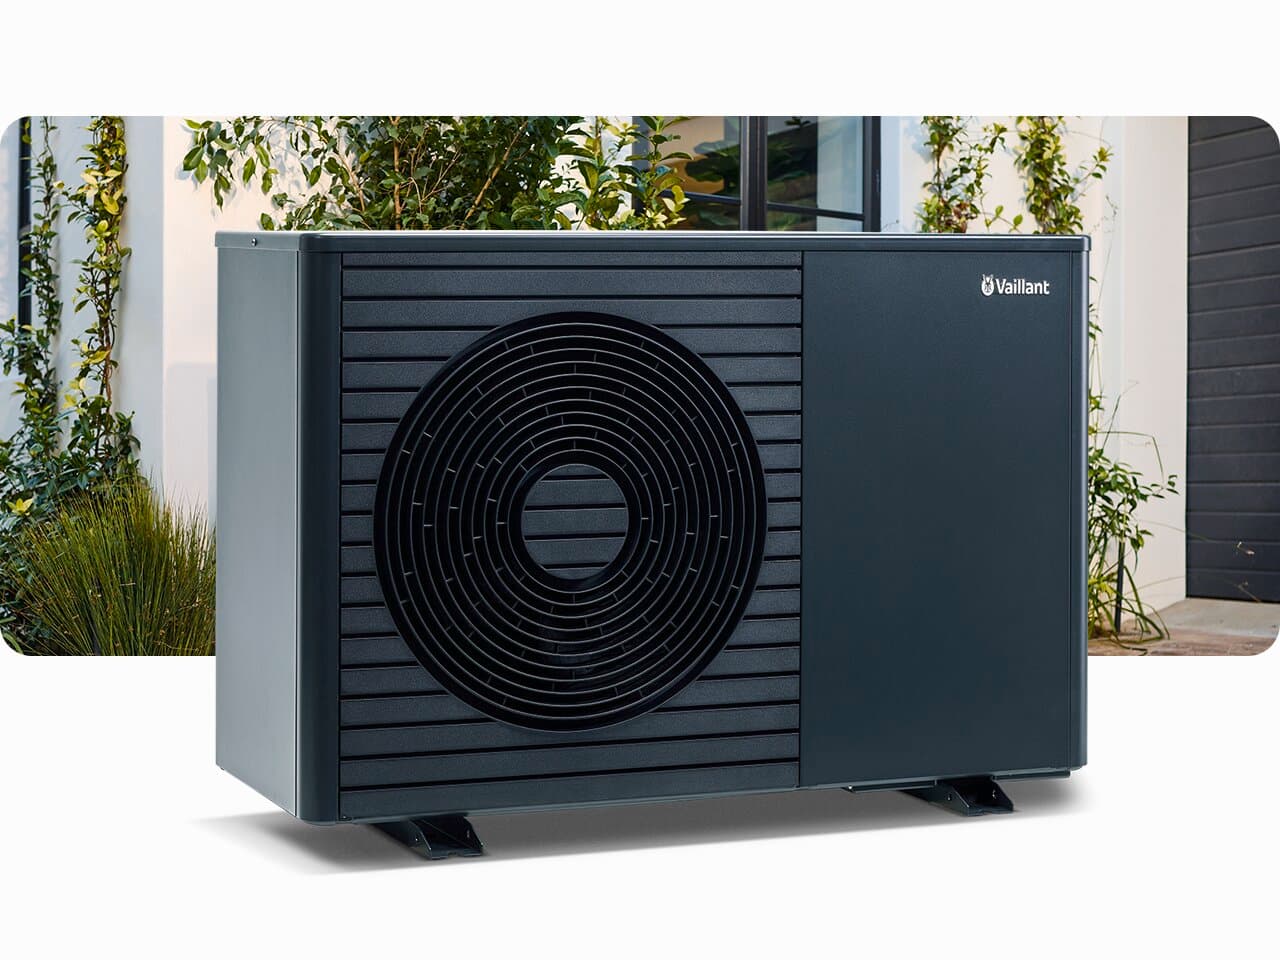
- 3/4Air-to-water heat pumparoTHERM Split plusA highly efficient split heating solution for one-family houses or energy modernisation projects.Get more details
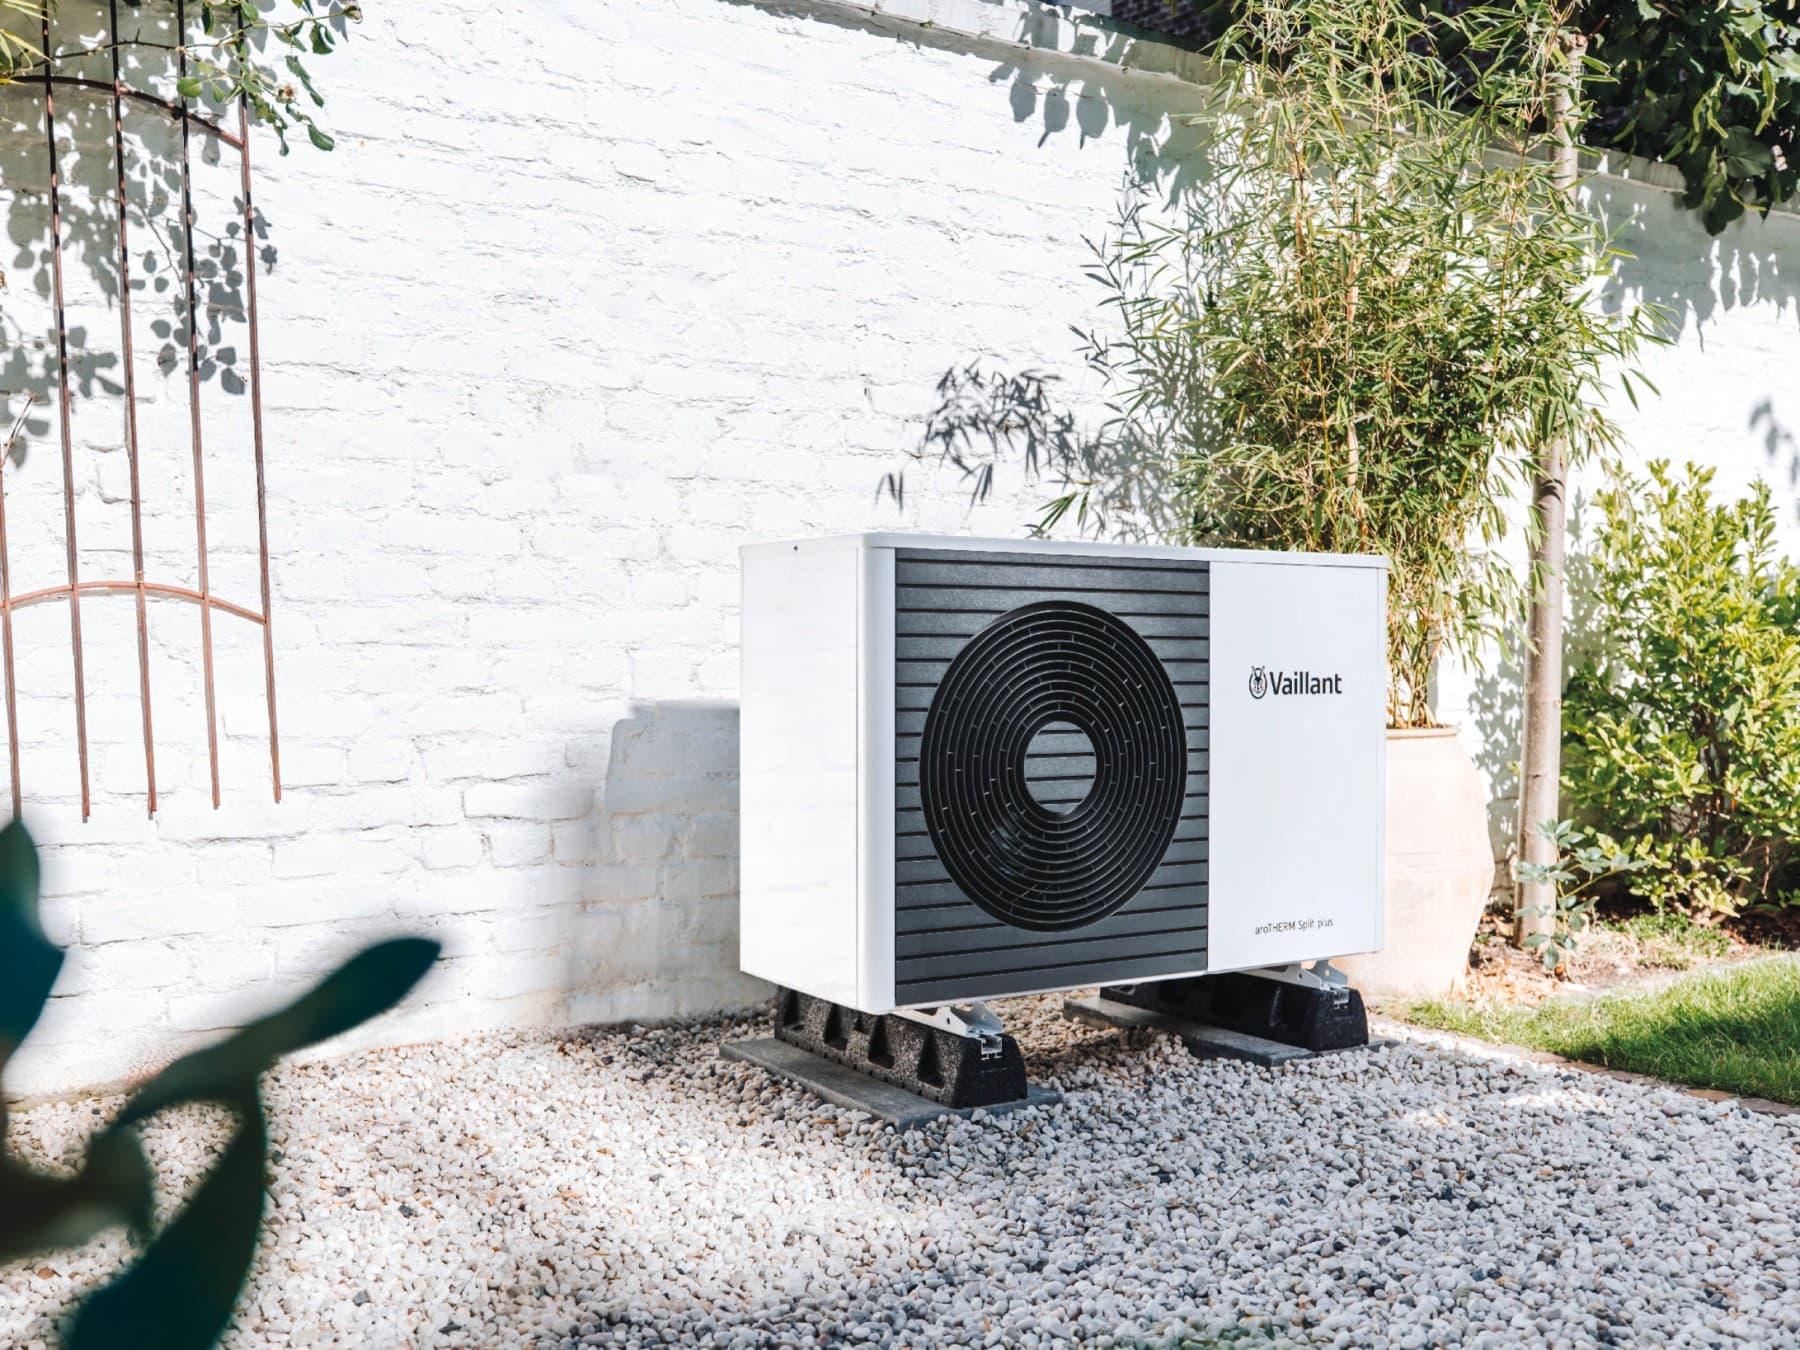
A highly efficient split heating solution for one-family houses or energy modernisation projects.
- Low running costs due to high efficiency
- Low running costs due to high efficiency
- High heating, cooling and hot water comfort
- Flexible installation
The aroTHERM Split plus reduces energy consumption with free environmental heat. With its output from 3 kW to 7 kW it is the ideal choice for newly built one-family houses or in energy modernisation projects. And with a distance of up to 40 metres between the indoor and the outdoor units, you are also flexible in choosing the installation place.
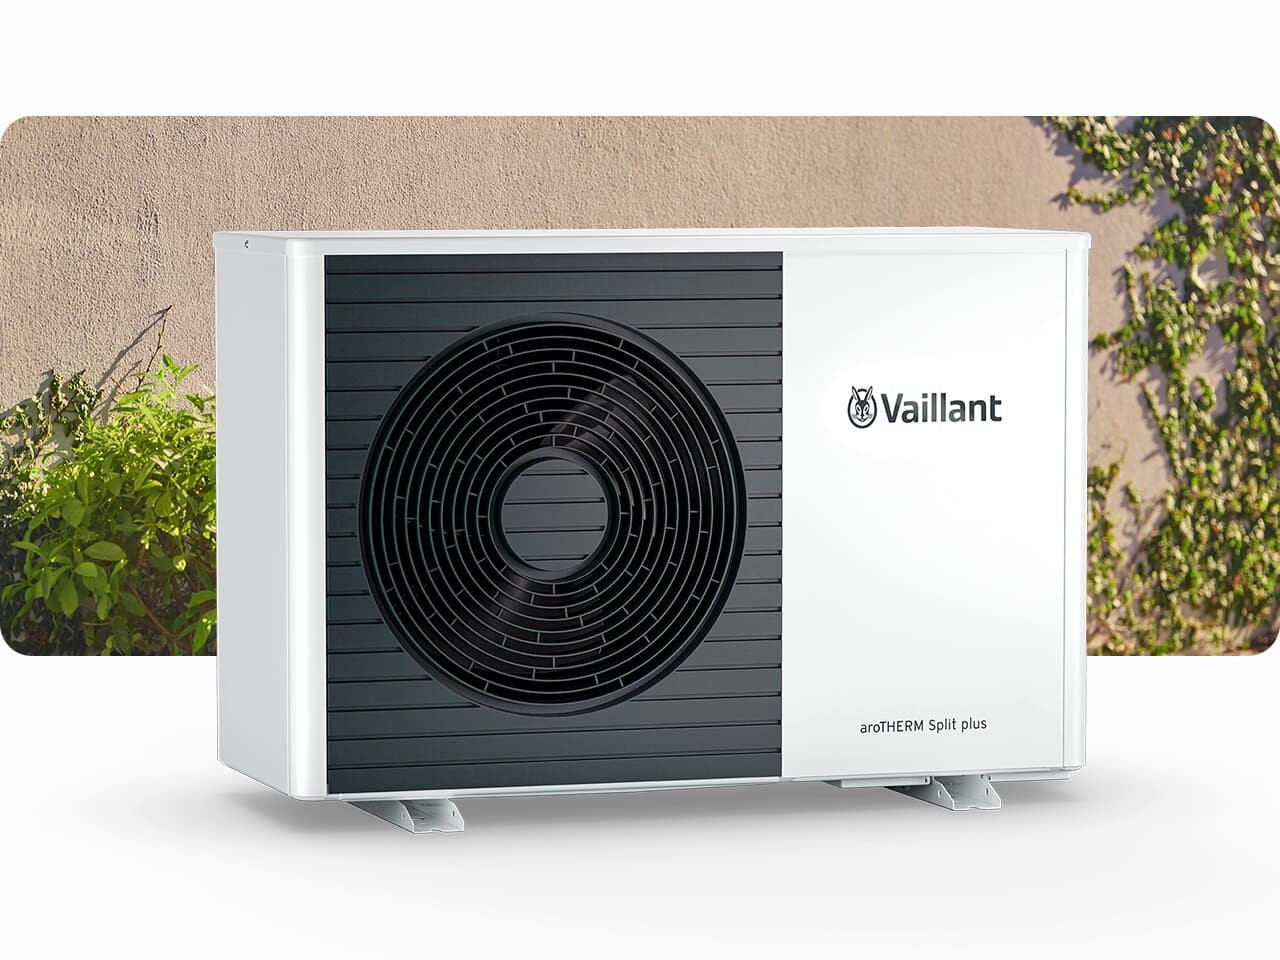
- 4/4Air-to-Water Heat PumparoTHERM SplitA split heating solution with up to 12 kW output for larger single-family houses or multi-family houses.Get more details
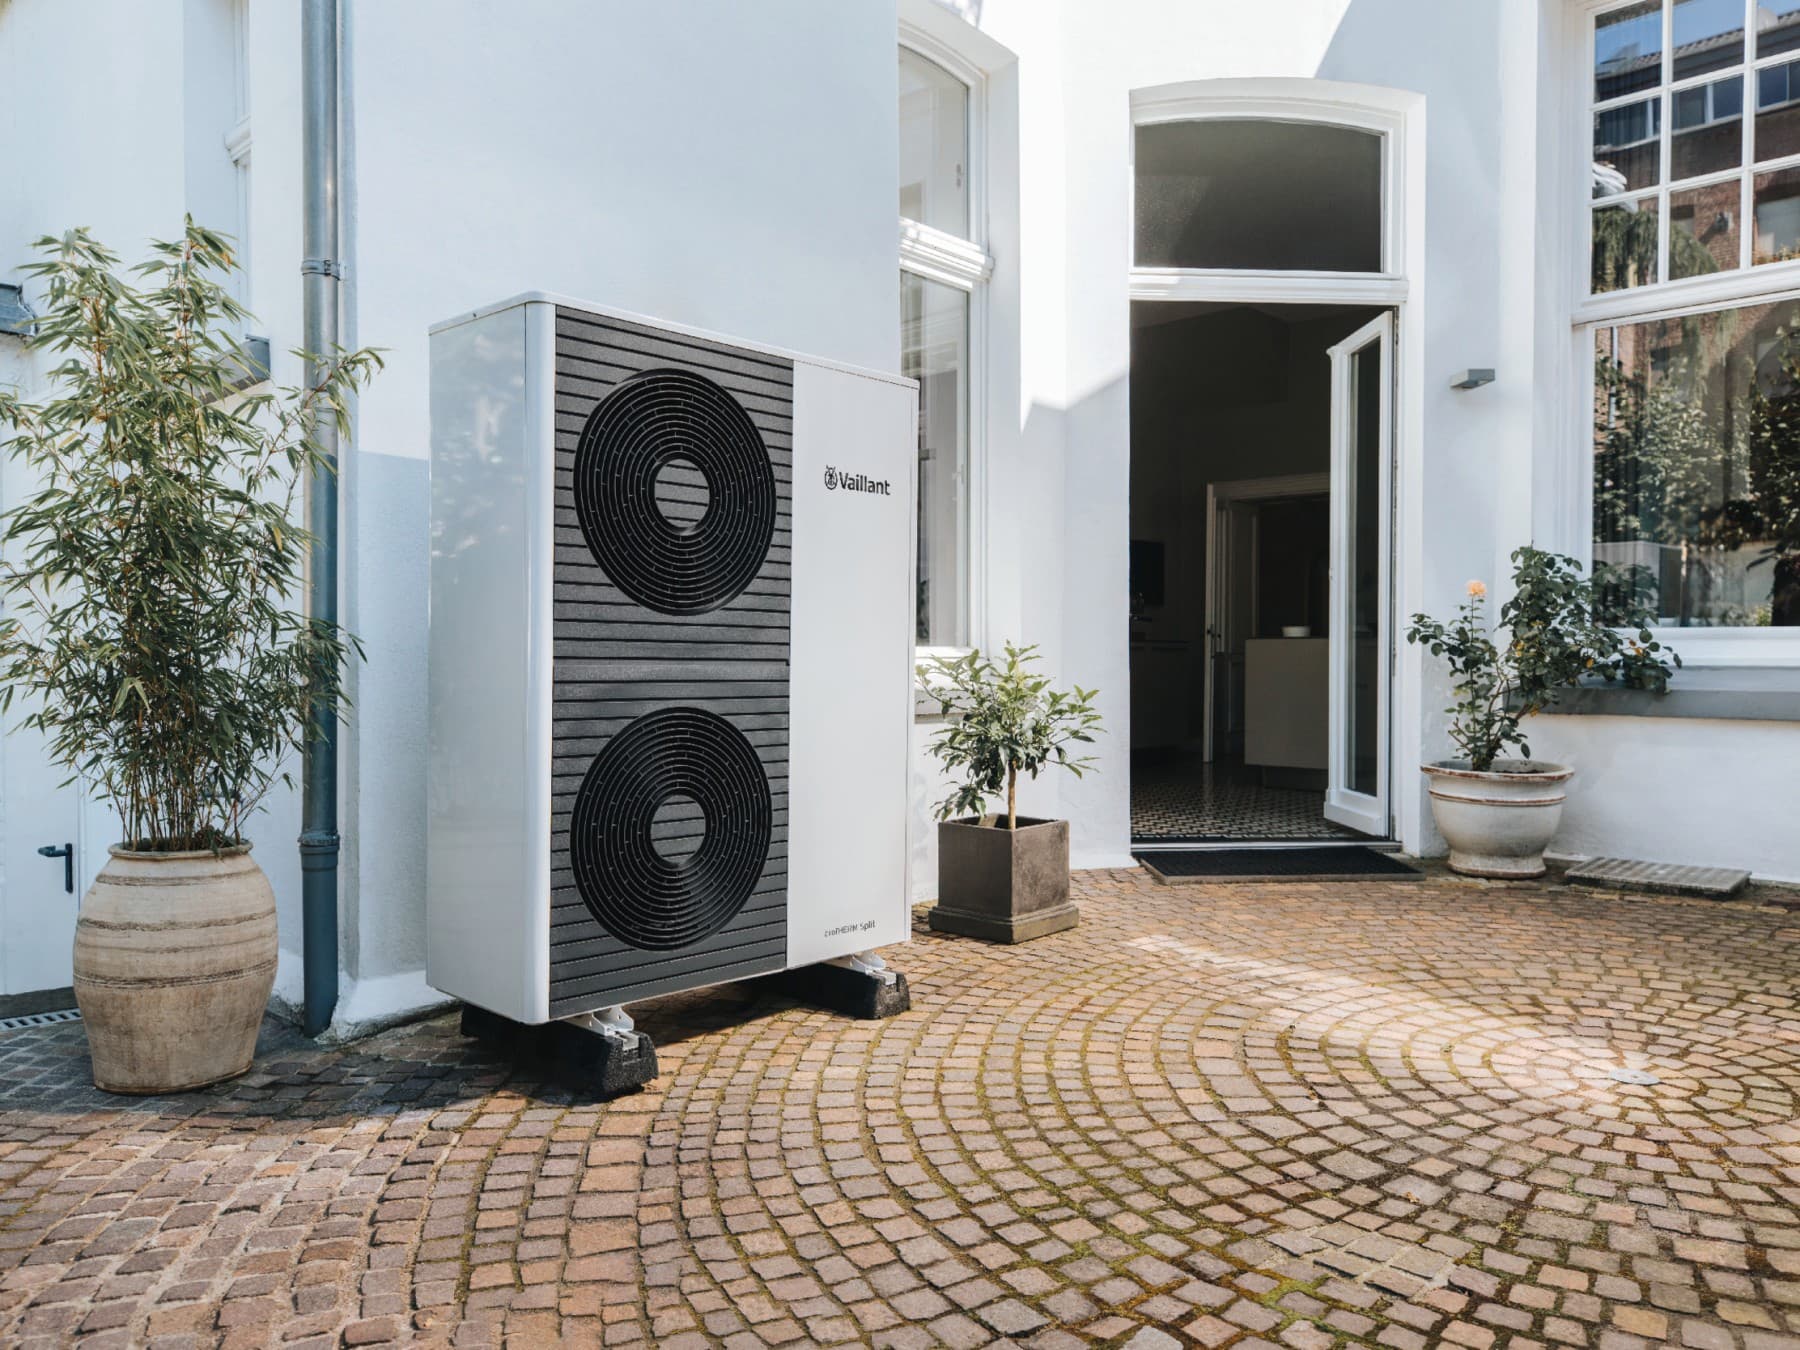
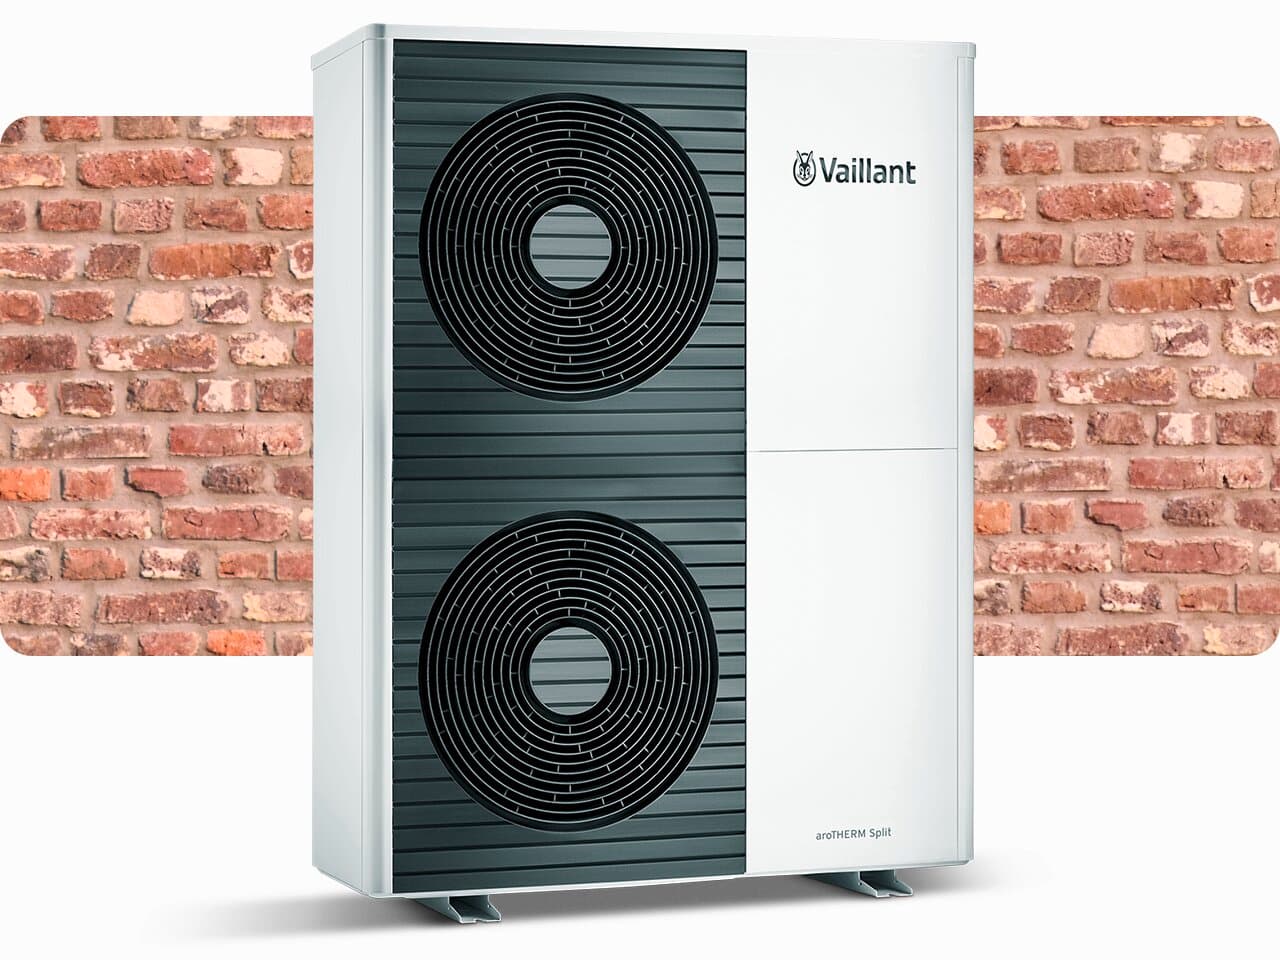
A split heating solution with up to 12 kW output for larger single-family houses or multi-family houses.
- Super quiet operation
- High energy efficiency at low operational costs
- Outstanding quality and durability
- Can even be installed up to 40m away from your property
The aroTHERM Split heat pump increases your energy efficiency by using free environmental heat as its main energy source. With its output of 10 and 12 kW it is a cost-efficient heating solution for larger single-family houses or multi-family houses.
Installation of an air-source heat pump
Step 1: Fitting the inside unit.
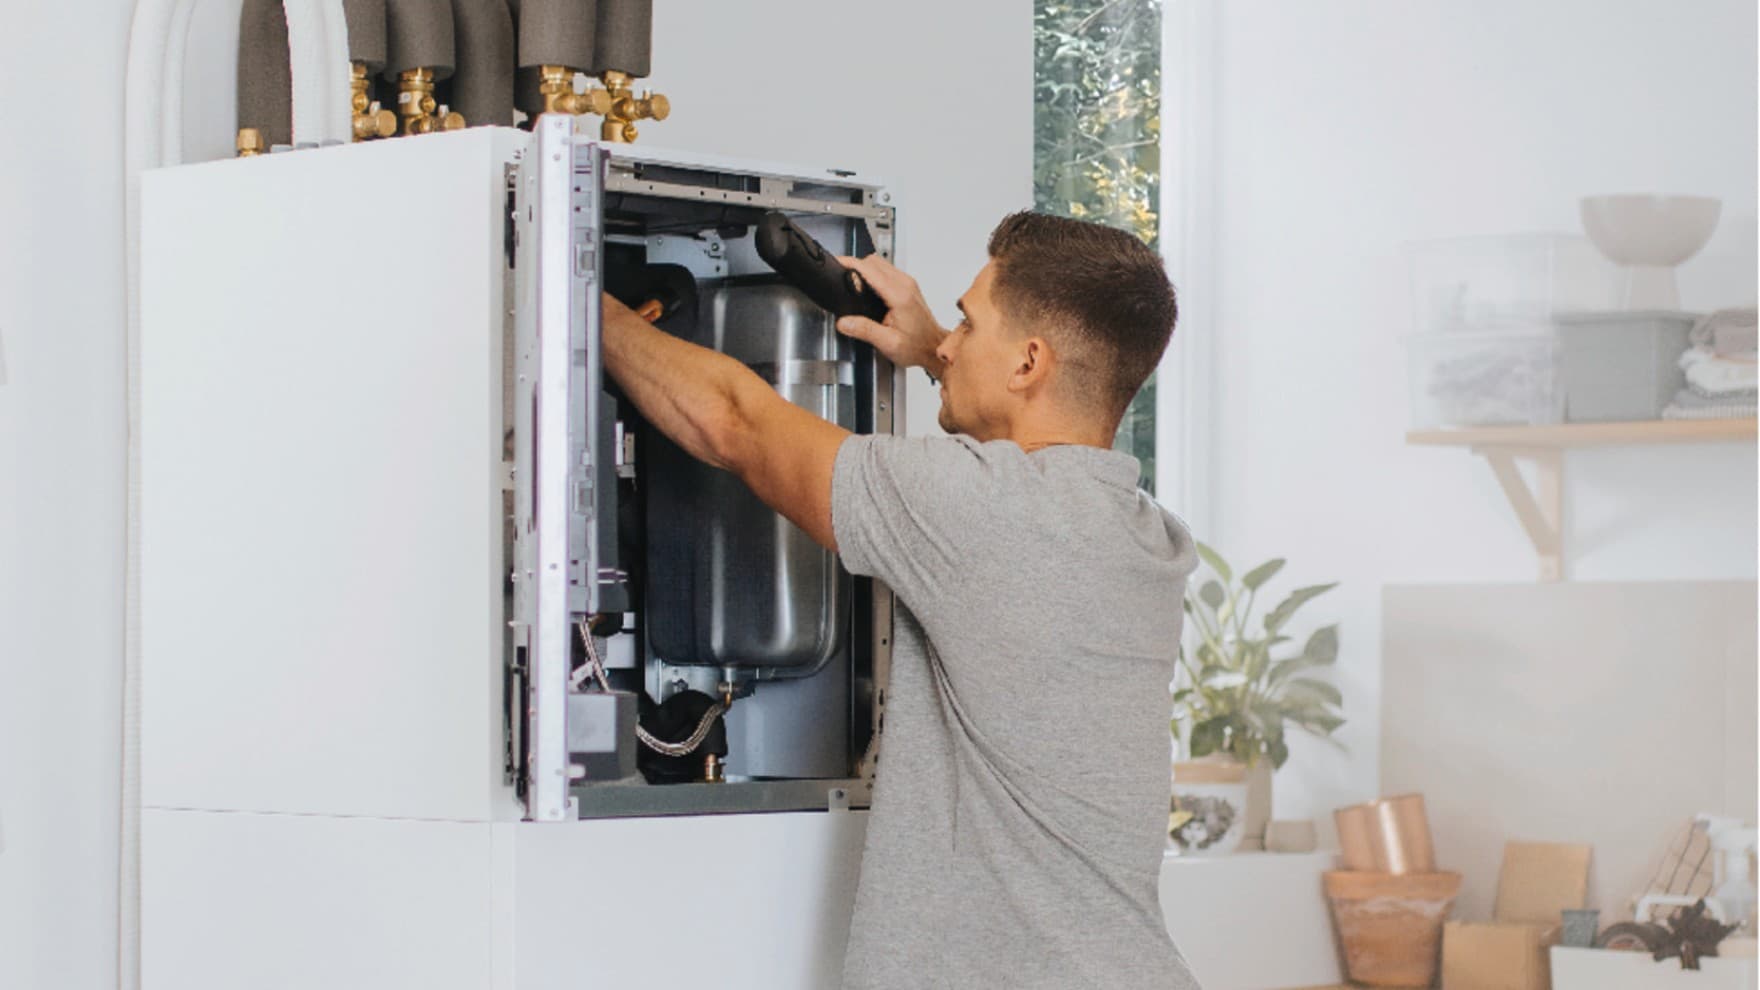
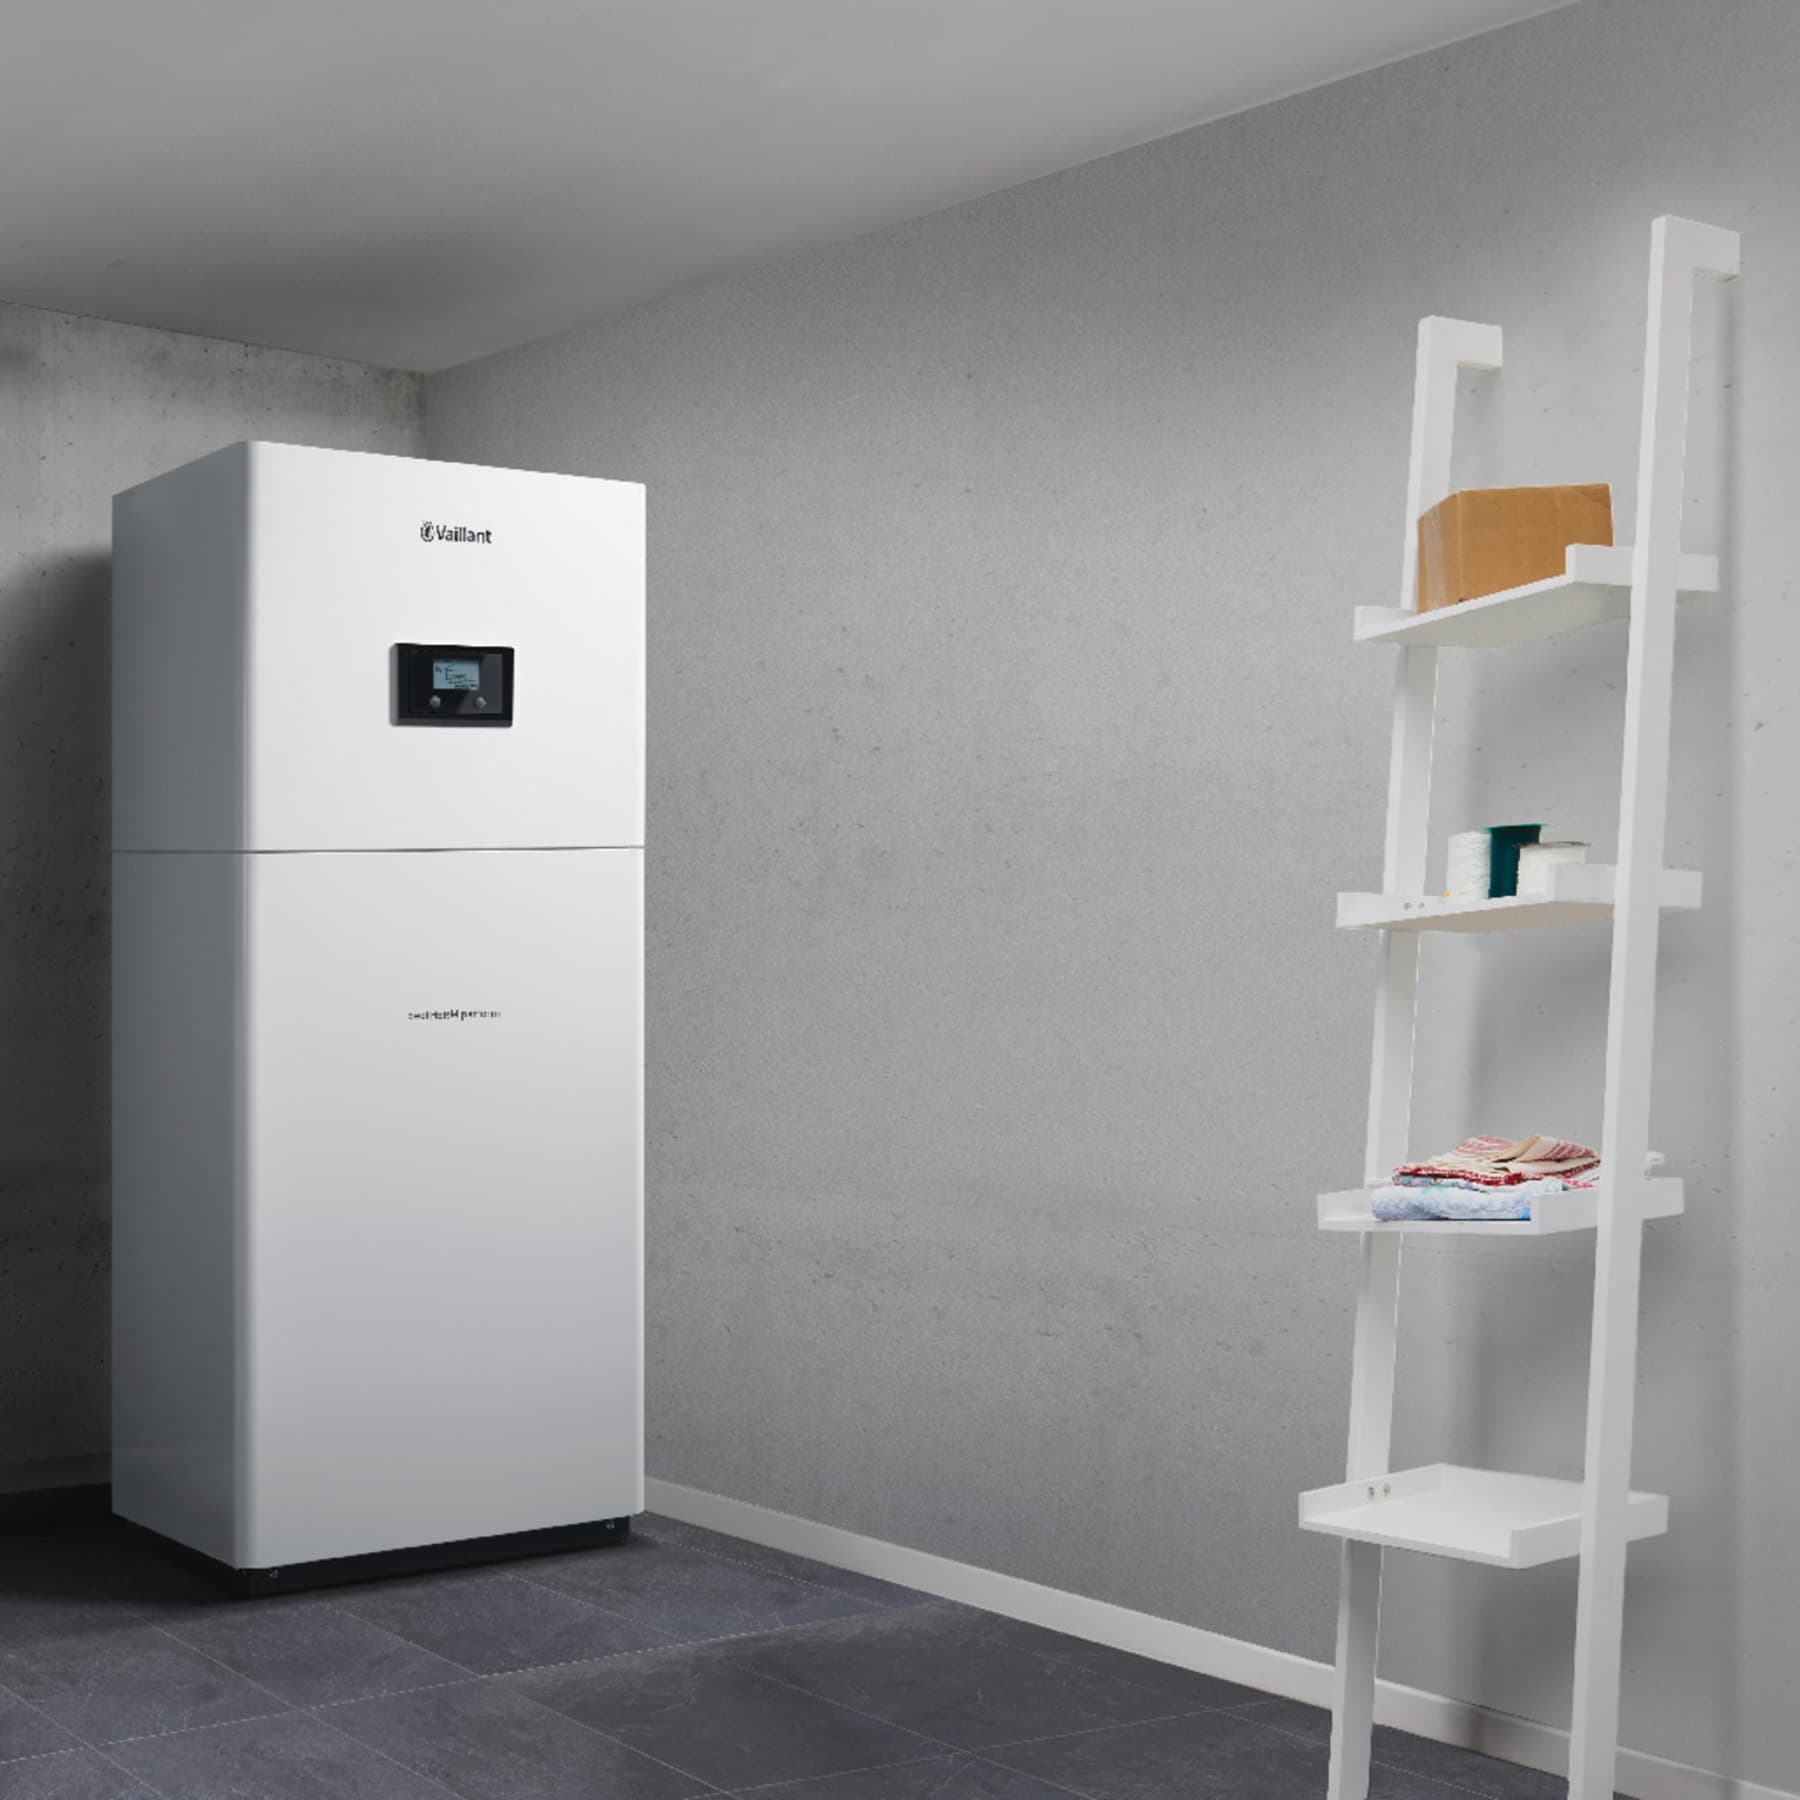
Air-source heat pumps consist of two parts: an inside unit and an outside unit. The installation usually starts with the inside unit.
The inside unit will typically be positioned on an external wall and will be mounted on a bracket. The installer will drill a hole through the wall and feed the necessary cables and pipes to the outside, where they can be connected to the outside unit.
Note that during the installation process, you may experience a temporary lack of heating and hot water for a short time.
Step 2: Fitting the outside unit.
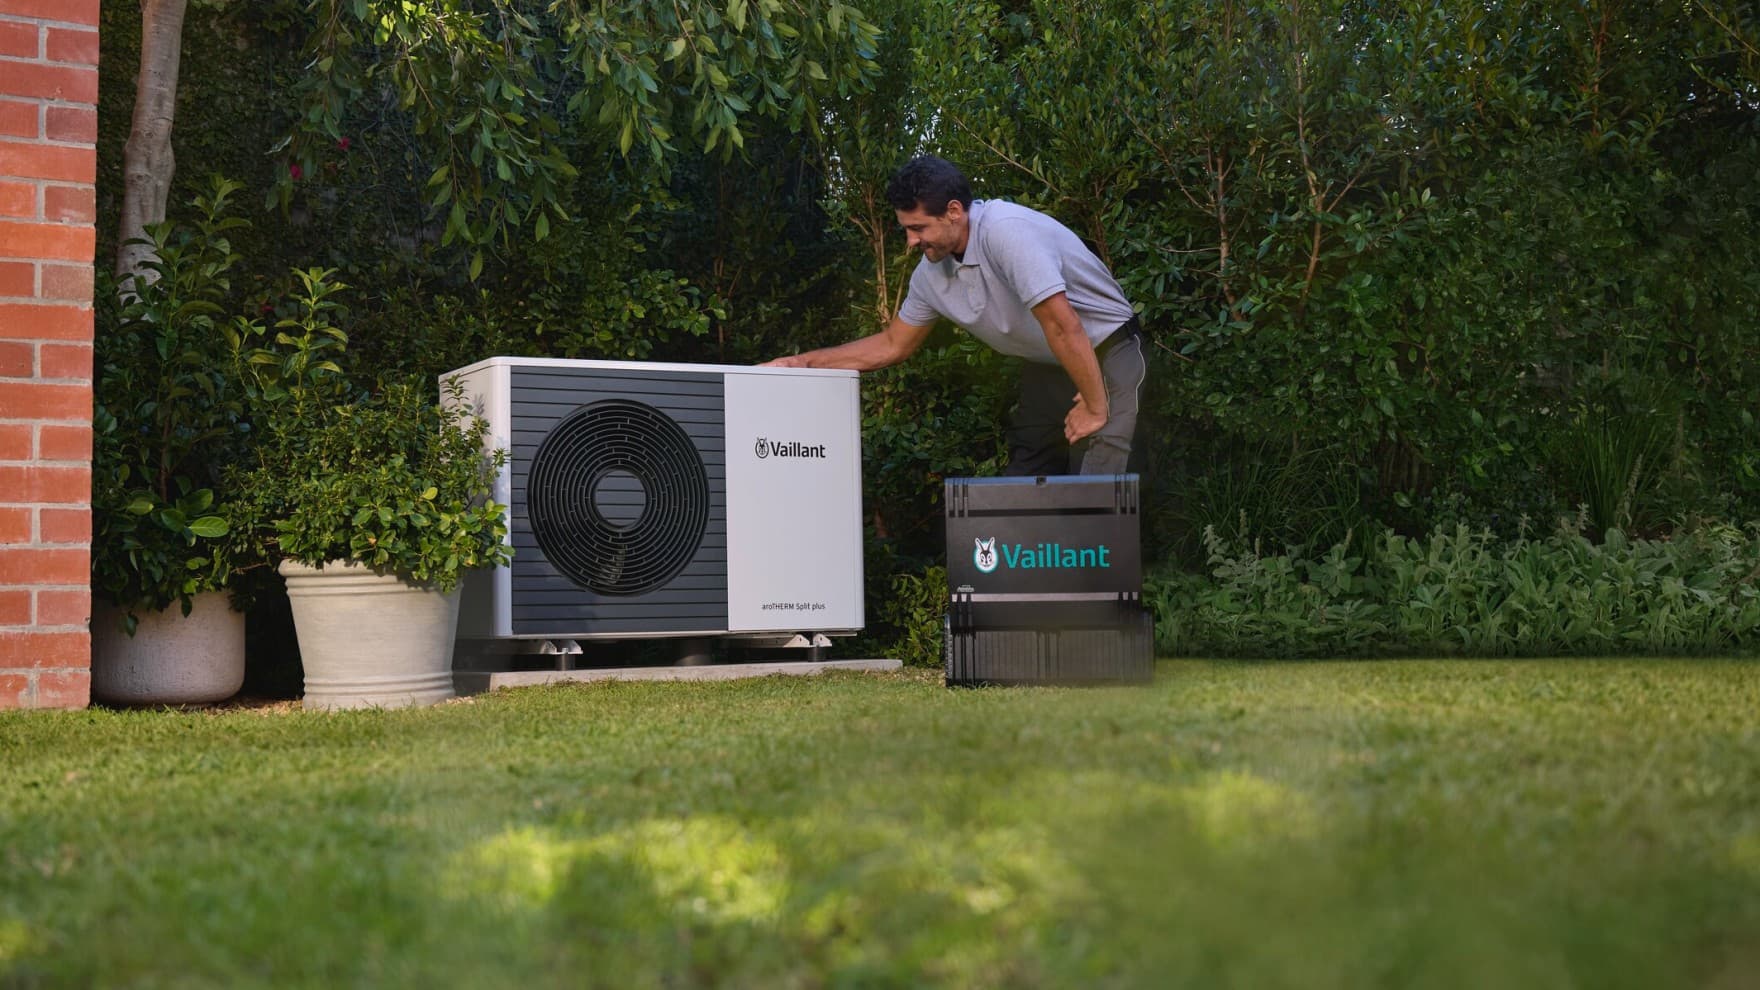
The outside unit of an air-source heat pump can be positioned next to the outside wall circa where the inside unit is positioned.
After carrying the unit to its designated place, it can then be quickly and easily secured to the ground using the anti-vibration feet or wall-mounted outside the building.
Once both parts of the heat pump are in position, your installer will connect them to each other, as well as to the rest of your heating system.
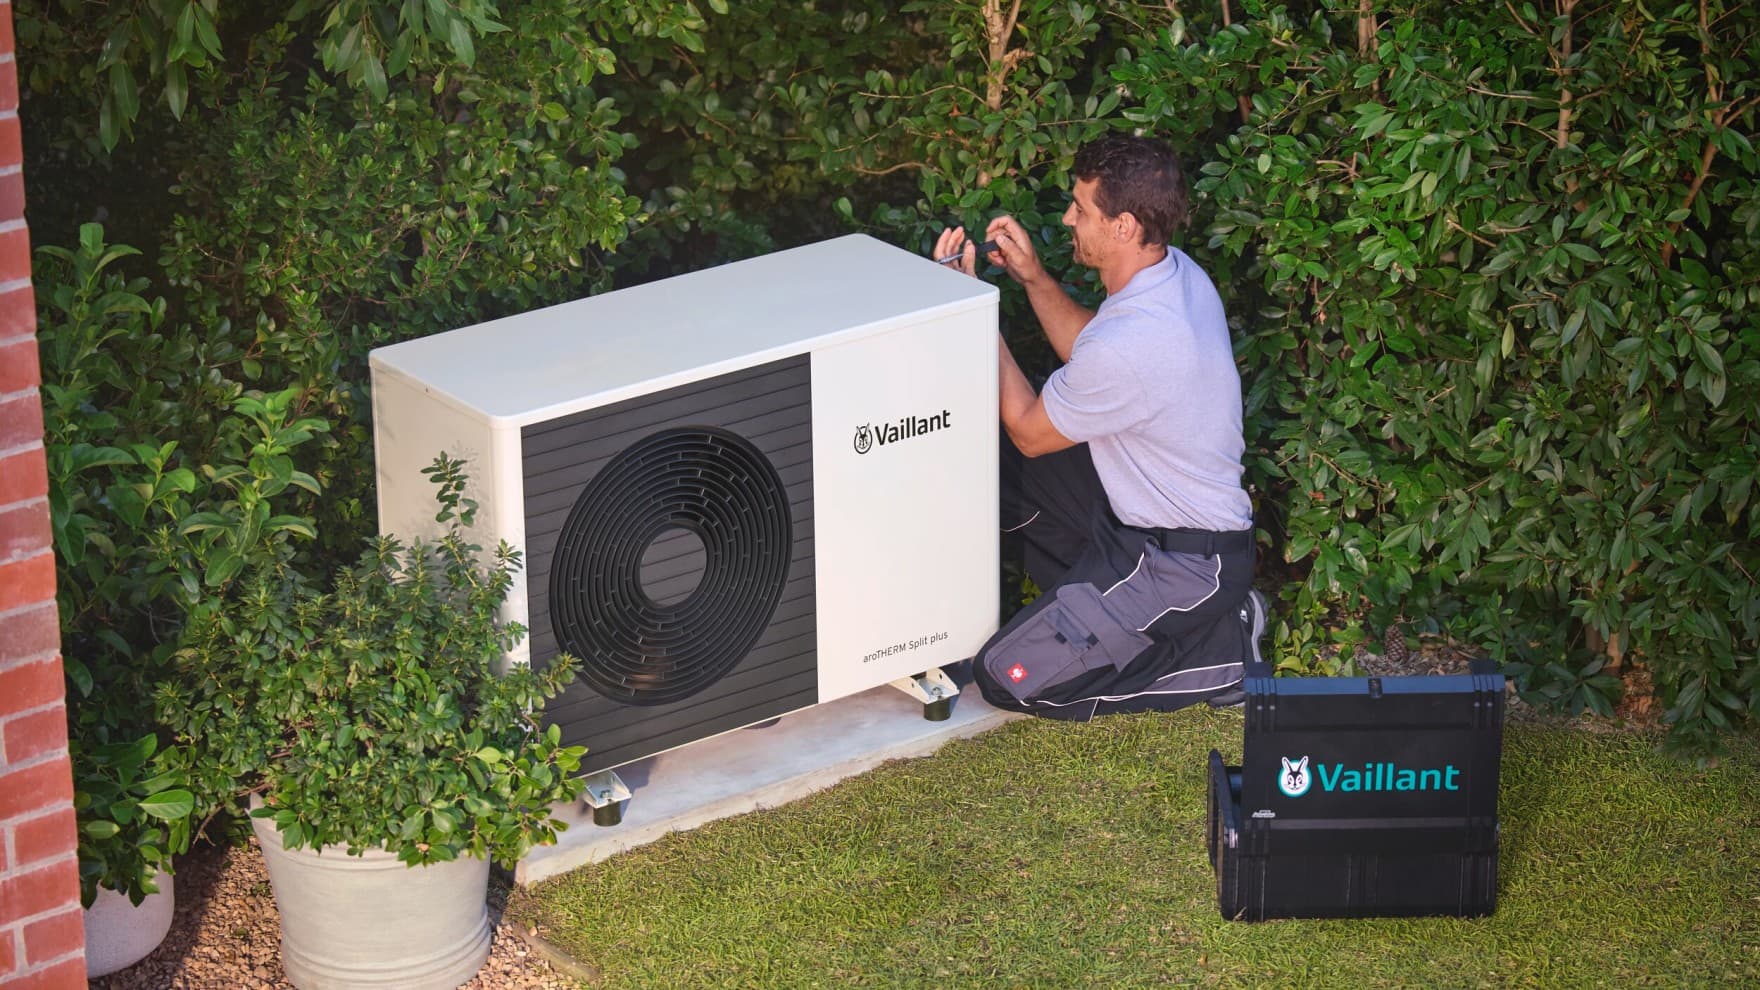
Step 3: Connecting and final testing.
Once both parts are in place, the installer will make sure your new Vaillant heat pump is optimally adjusted. For that, the installer will then perform anumber of checks to make sure everything is working properly and is safe to use.
Your installation is then completed, and you can look forward to sustainable and reliable comfort for years to come.
Your path to a ground-source heat pump
Ground-source heat pumps installation.
Compared to air-source heat pumps, the ground-source heat pump installation takes more effort. It also starts with a thorough assessment of your property. In this case, also a detailed evaluation of the soil and geology. This determines the best system.
The choice is between surface collectors or geothermal probes to collect energy from the soil. Surface collectors need twice the area of the space they heat. For that excavations around 1.50 metres deep will be conducted in your garden to place them in the ground.
For geothermal probes only a 15 cm diameter hole, ideally over 100 metres deep, will be drilled. If your heating demands over eight to ten kilowatts, your installer might need to drill deeper or add a second probe for enhanced performance.
Within the two options there are additional variations for different garden set-ups. You can dive into the details in our guide on ground-source heat pumps.
In both options the inside unit is then connected via pipes and cables to the probes or collectors.
Your path to a water-source heat pump
Water-source heat pumps installation.
For a water-source heat pump the installer obviously needs to assess the water source quality. Depth and temperature are the main factors.
If suitable, the system can be selected: either a closed-loop system with pipes in the water or an open-loop system, which pumps water. The selection here heavily influences the installation effort.
For a closed-loop system the laid pipes can be dug underground leading to the house, if you don’t want pipes in your garden.
In an open-loop system the water typically comes from abore hole. For this, a hole of 15 metres depth needs to be drilled. The diameter depends on the amount of water which is needed. You find details in our guide on water-source heat pumps.
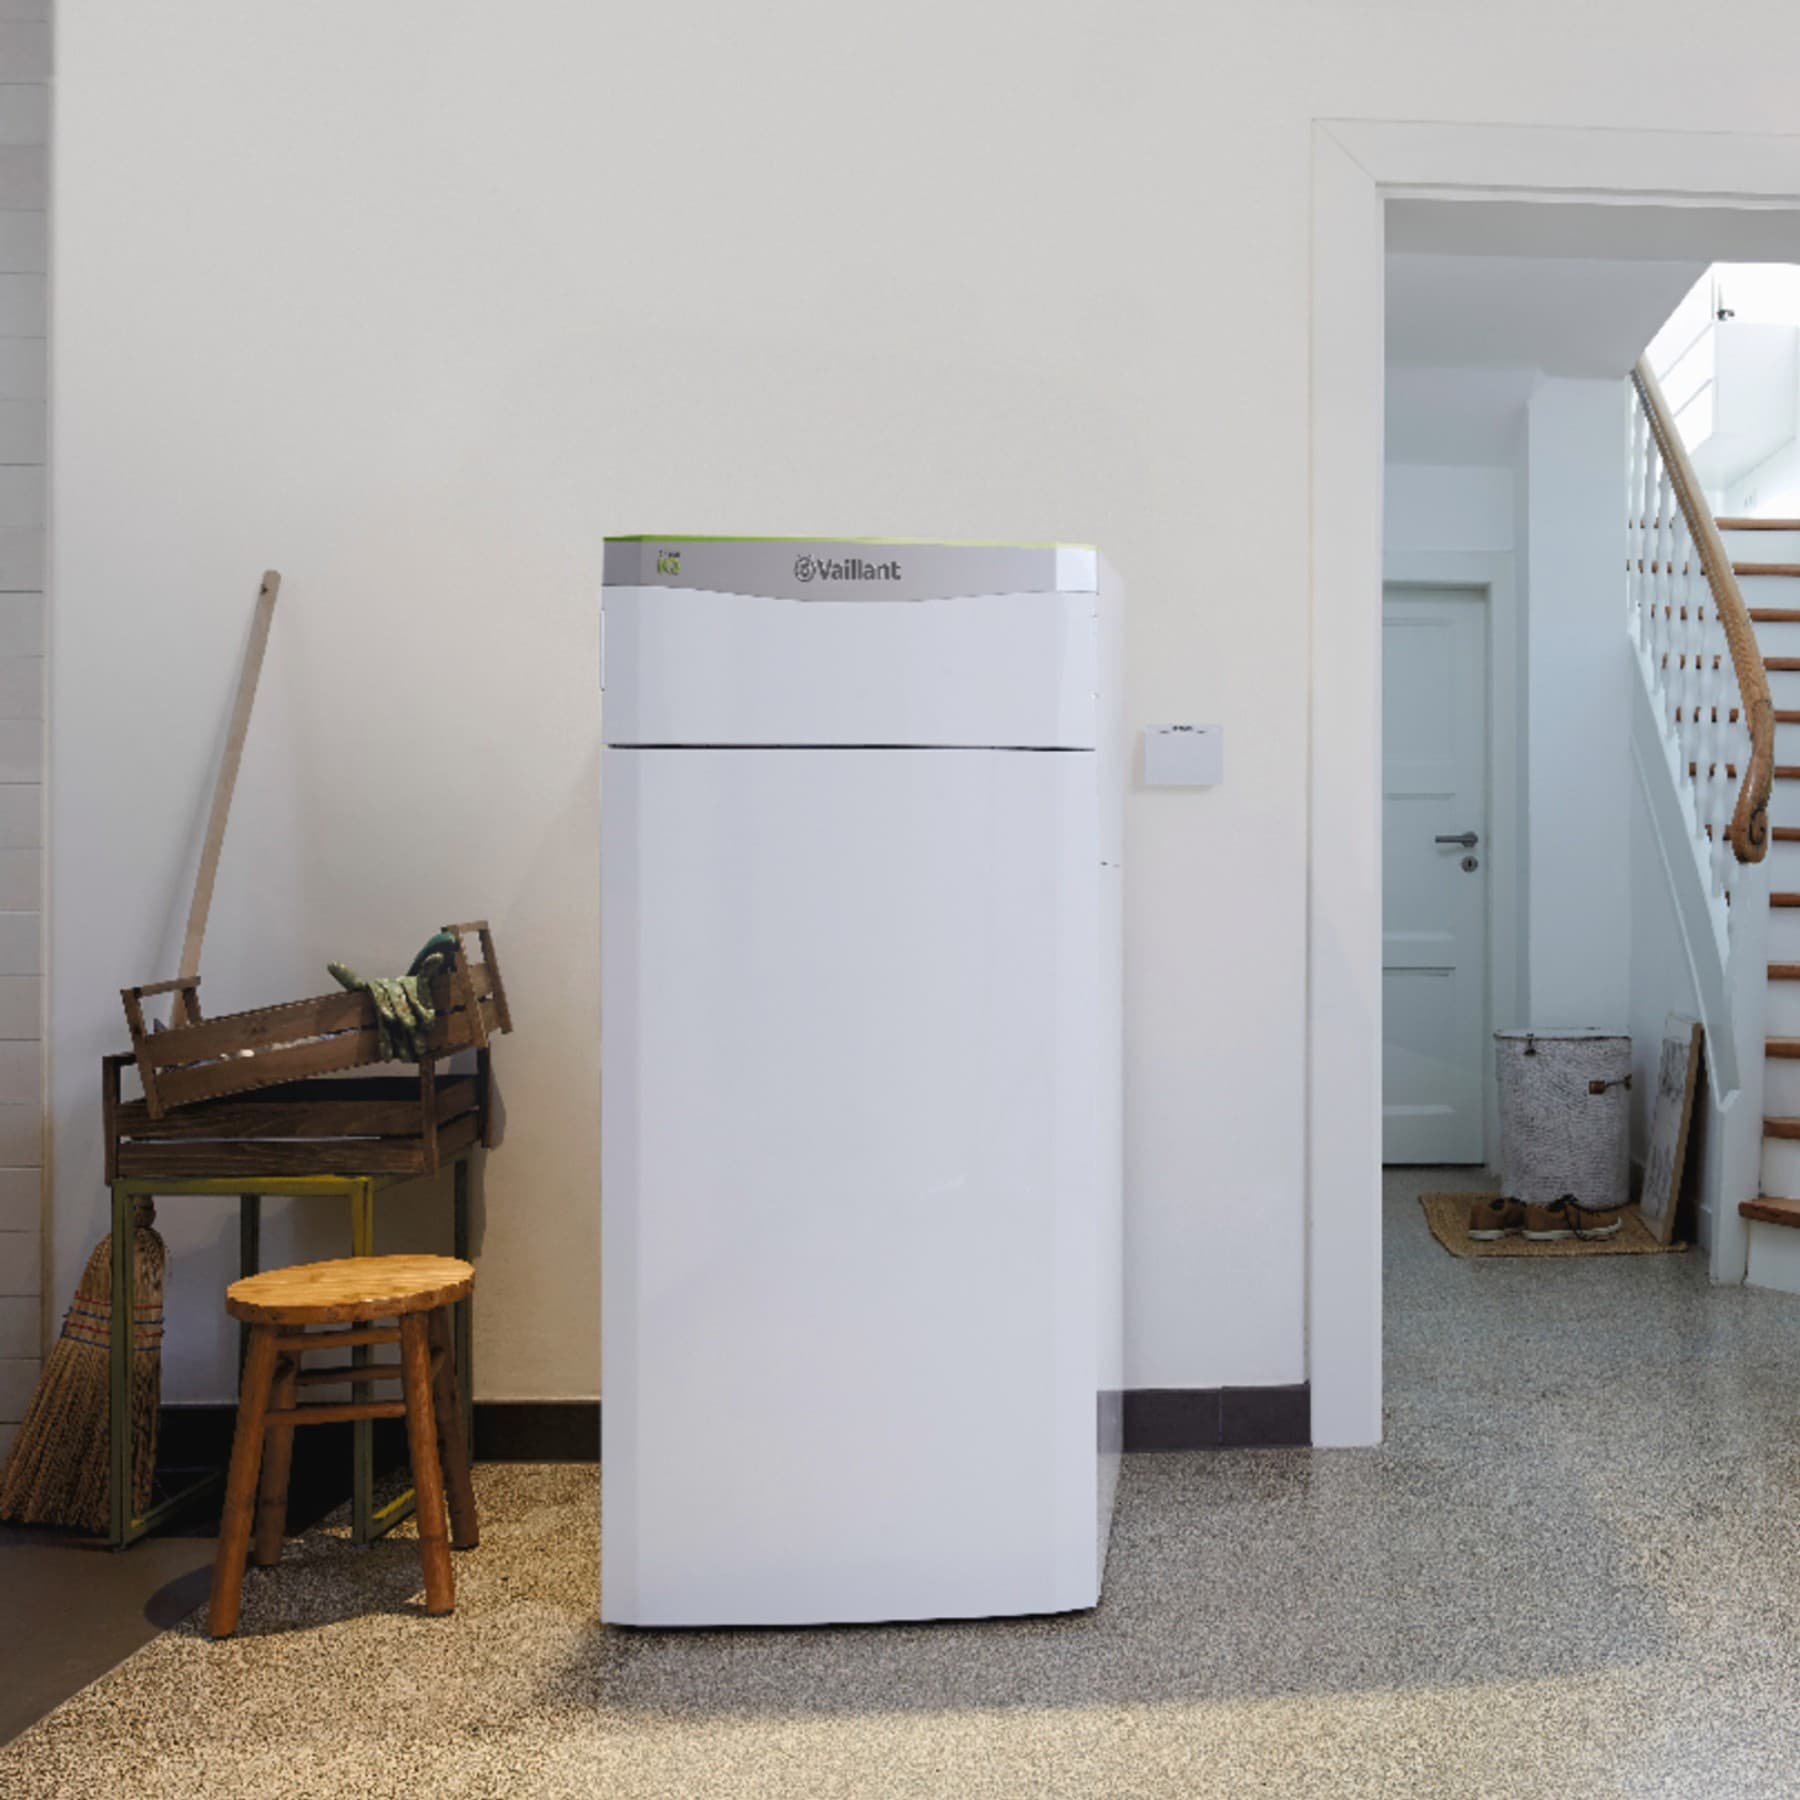
The inside unit is usually placed in the utility room and connected in a similar way as the other heat pump types.
Installation timeline
How long does a heat pump installation take?
A basic installation will take a couple of days whereas more complex systems may require longer to complete. When assessing your home for heat pump suitability and providing a quote, your installer will be able to advise you on the expected installation time.
Each system is different and has its own set of requirements, so no two installations are the same. Air-source heat pumps are the quickest and easiest to install, as they don’t require any groundwork. Whereas ground-source installations require the digging of a borehole system or ground arrays.